
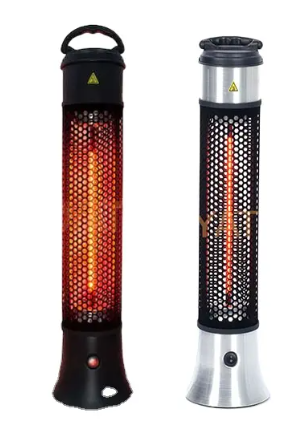
Keeping Your Bathroom Infrared Heaters Safe (And Your Toes Warm)
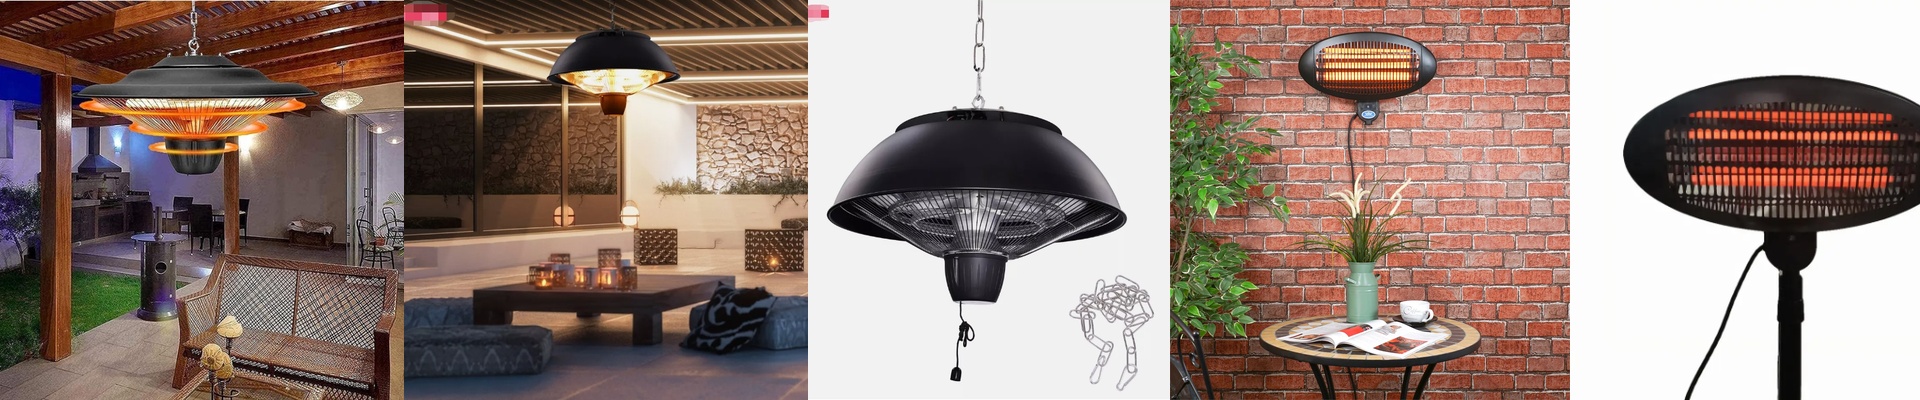
Putting an infrared heater in a bathroom isn’t the same as tossing one on a backyard patio. You’ve got steam, splashes, and constant humidity. In that kind of environment, a basic heater isn’t just a bad choice—it’s a risk. To do this right, you need anIP55 rating.
Why IP55 Actually Matters
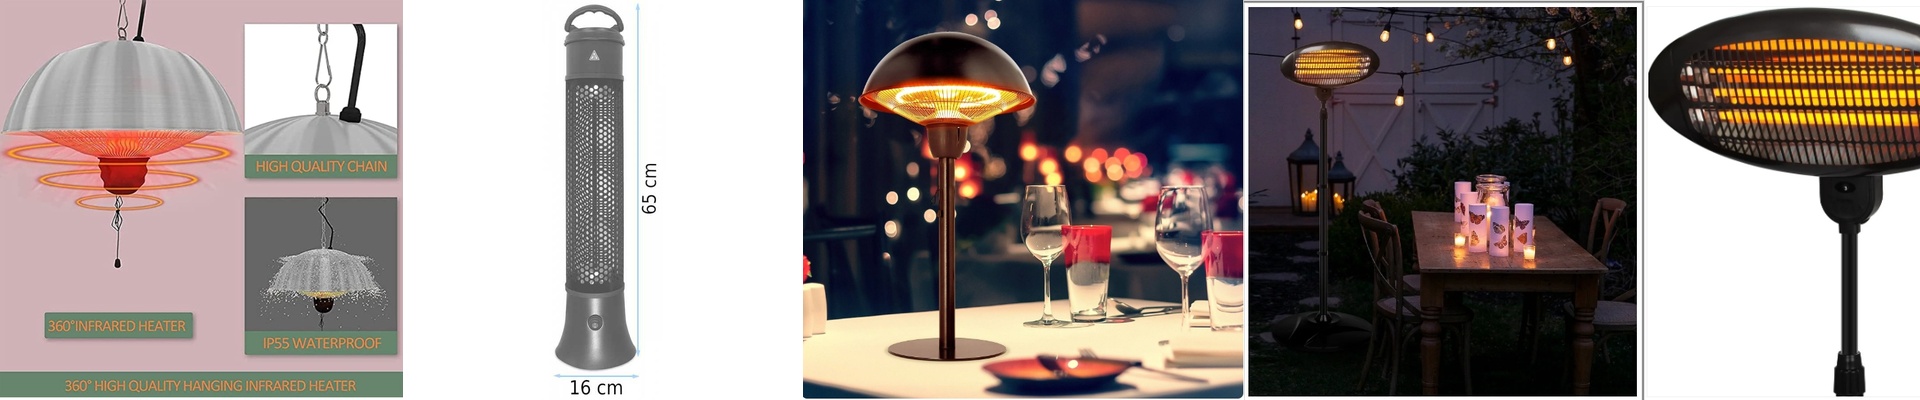
If you’re not a tech geek, IP55 basically means the heater can handle dust and low-pressure water jets coming from any direction. We make this happen by sealing the chassis with heavy-duty gaskets and using tight compression glands where the cables enter. It stops condensation from sneaking into the wiring. Because let’s be honest: water hitting a live terminal equals a short circuit. IP55 keeps that from happening.
Making Sure the Electricity Stays Where It Belongs
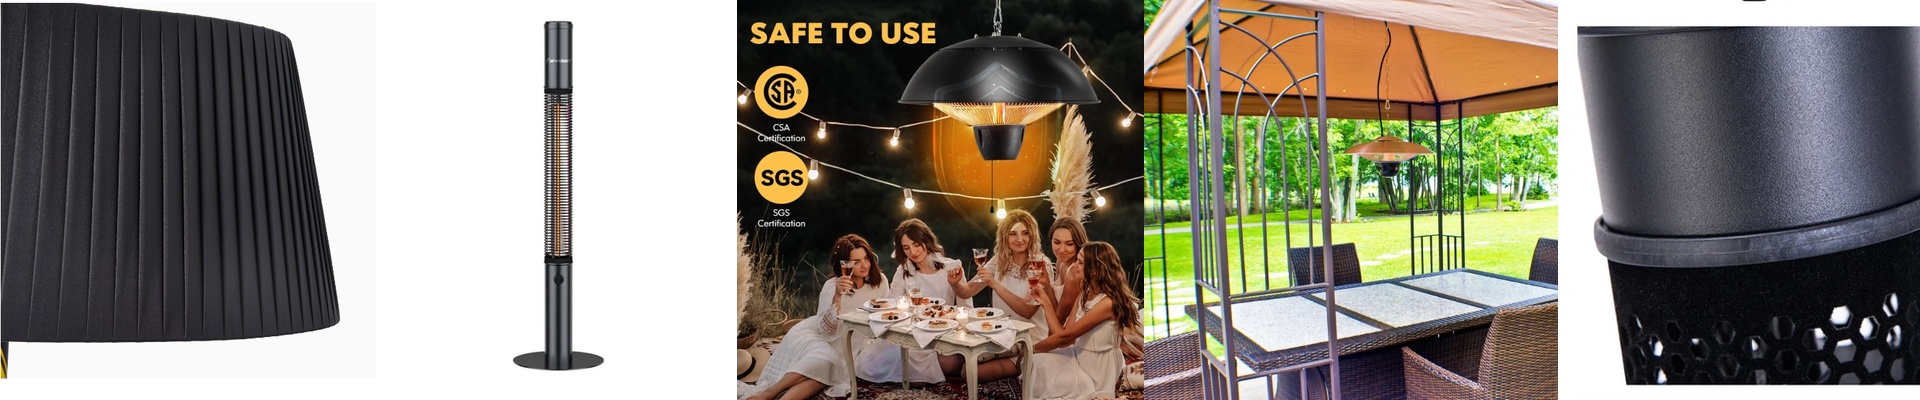
We don’t take chances with insulation. We use double-insulated housing and reinforced grounding paths to keep things locked down. The heating elements are mounted on high-temperature ceramic insulators. This stops current from leaking onto the outer shell. Before any unit leaves the shop, it goes through a “HiPot” test—basically a stress test to make sure the insulation doesn’t snap under a voltage spike. But here is the most important part:Wire these into an RCD or GFCI circuit. The heater’s build is your first line of defense, but the RCD is your safety net. It trips in milliseconds if something goes wrong. It’s the difference between a flicker of the lights and a real disaster.
The Trade-offs You Should Know About
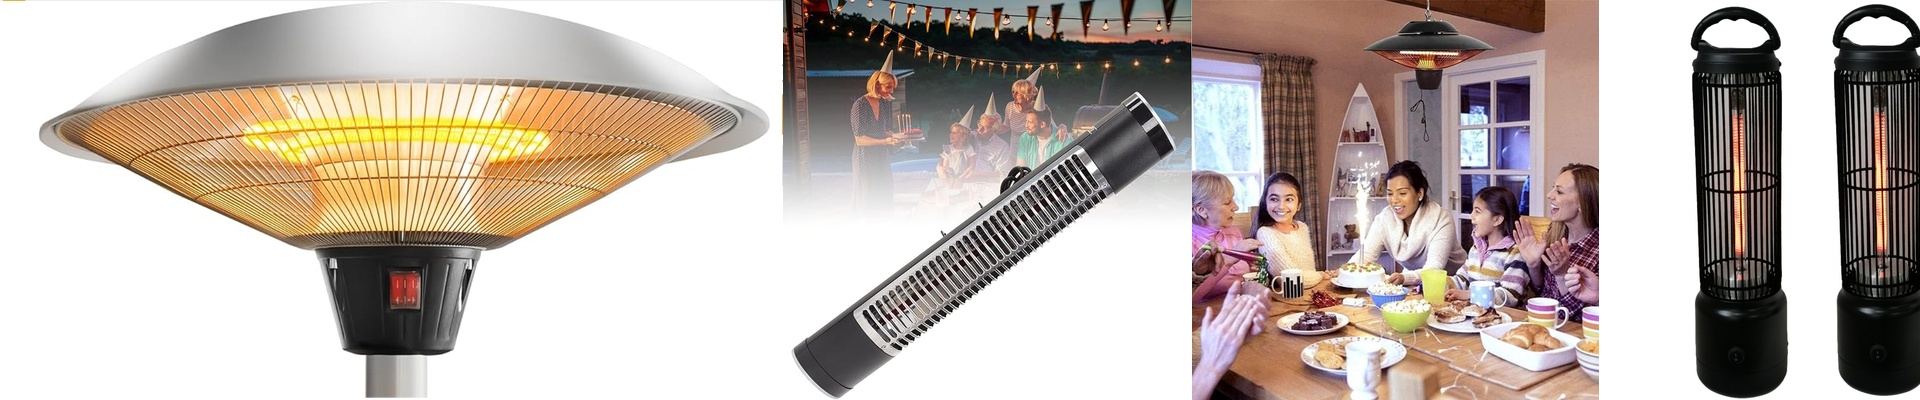
There’s a catch. High-wattage lamps get incredibly hot. When you seal a unit up to meet those IP55 standards, you’re cutting off the natural airflow. This means the internals run hotter than they would outside. Because of that, you can’t just use any old wire. You need a gauge that can handle the extra heat without the insulation melting or degrading over time. If the area around the lamp is hitting 105°C, go with silicone-insulated wiring. It handles the heat way better.